Learn how to brew the perfect cup of coffee with the inverted Aeropress method. This brew guide covers everything from grind size to water temperature, offering simple steps for beginners and coffee enthusiasts alike.
Are you looking to brew a delicious cup of coffee using the Aeropress? If so, you’re in for a treat! The Aeropress has quickly become a favorite among coffee enthusiasts, and for good reason: it’s easy to use, portable, and produces a cup that’s rich in flavor. However, there’s one new method that stands out among the rest — the inverted Aeropress method.
Unlike the standard technique, this inverted brewing method flips the traditional brewing process on its head (literally!) to create a fuller, more intense cup of brewed coffee. Whether you’re a beginner just getting into the world of coffee or a seasoned pro looking to refine your brew, this method offers a unique way to unlock the full potential of your coffee beans. In this detailed guide, we’ll take you through the simple yet effective steps to brew a great cup of coffee using the inverted method. By the end, you’ll know everything you need to brew like a true coffee geek, and you’ll have a cup of delicious coffee to enjoy every time!
For more related posts on Aeropress and Aeropress recipes:
8 Espresso Coffee Recipes with Aeropress Fellow Prismo
Tested Review of Aeropress Fellow Prismo Attachment
What Is the Inverted Aeropress Method?
The inverted Aeropress method is a unique brewing technique that involves flipping the Aeropress upside down during the brewing process. Unlike the standard method, where the Aeropress is placed on top of a cup or mug, the inverted method begins with the Aeropress coffee maker positioned with the plunger on the bottom and the brewing chamber facing upward. This allows you to steep the coffee grounds in hot water for a longer period, making it an immersion brewing method.
When using the inverted Aeropress method, the brewing chamber remains sealed until you’re ready to press, which prevents any coffee from dripping through prematurely. This method allows the coffee grounds to be fully immersed in hot water, leading to better extraction of flavors and oils from the coffee beans, resulting in a richer, more full-bodied brew.
While it may sound a bit intimidating at first, the inverted method is easy to master and gives you the chance to brew a cup that rivals even espresso machines and other brewing methods, like the French press or moka pots. Whether you’re brewing for one or perfecting your technique for the World Aeropress Championship, the inverted method is a fantastic way to experience all the potential of your Aeropress coffee maker.
Why Choose the Inverted Aeropress Method?
One of the main reasons coffee enthusiasts love the inverted Aeropress method is its versatility. It allows you to experiment with different grind sizes, water temperatures, and coffee-to-water ratios to suit your personal preferences. Plus, you get more control over the brewing process, which means you can adjust the time and pressure for a customized brew.
Another benefit of the inverted method is that it prevents any leakage or dripping from the Aeropress coffee maker while brewing, ensuring you don’t lose any precious coffee grounds. This gives you more consistency and better results.
The Essential Tools You’ll Need For the Inverted Aeropress Brewing Method
Before you start brewing with the inverted Aeropress method, make sure you have all the necessary tools on hand:
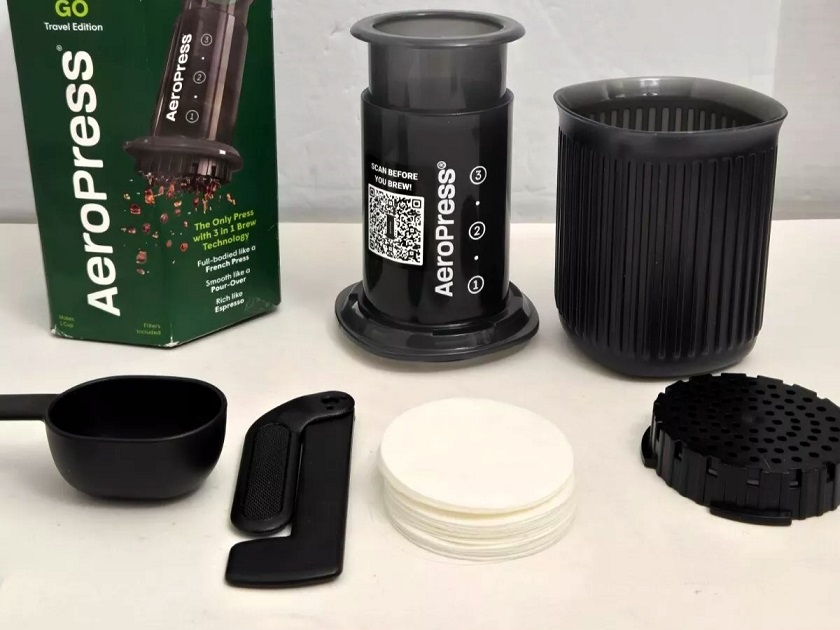
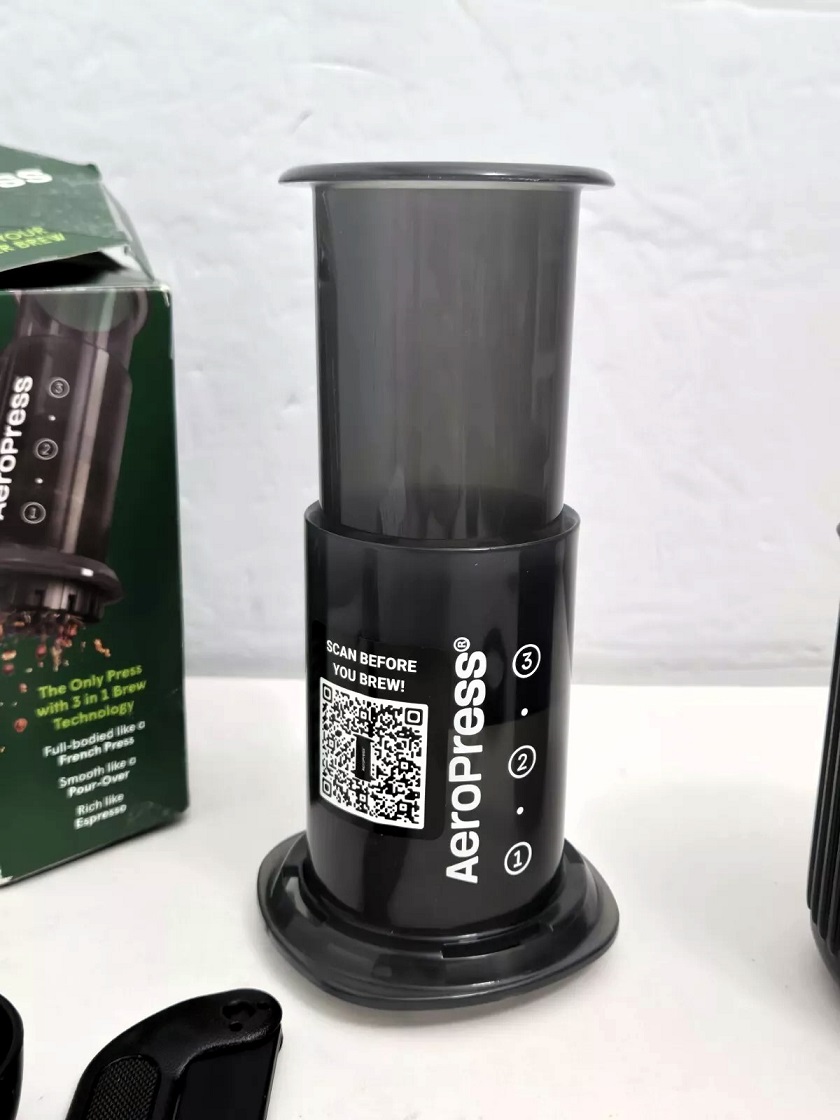
Aeropress Coffee Maker: This is the key piece of equipment. If you don’t have one yet, it’s time to grab one!
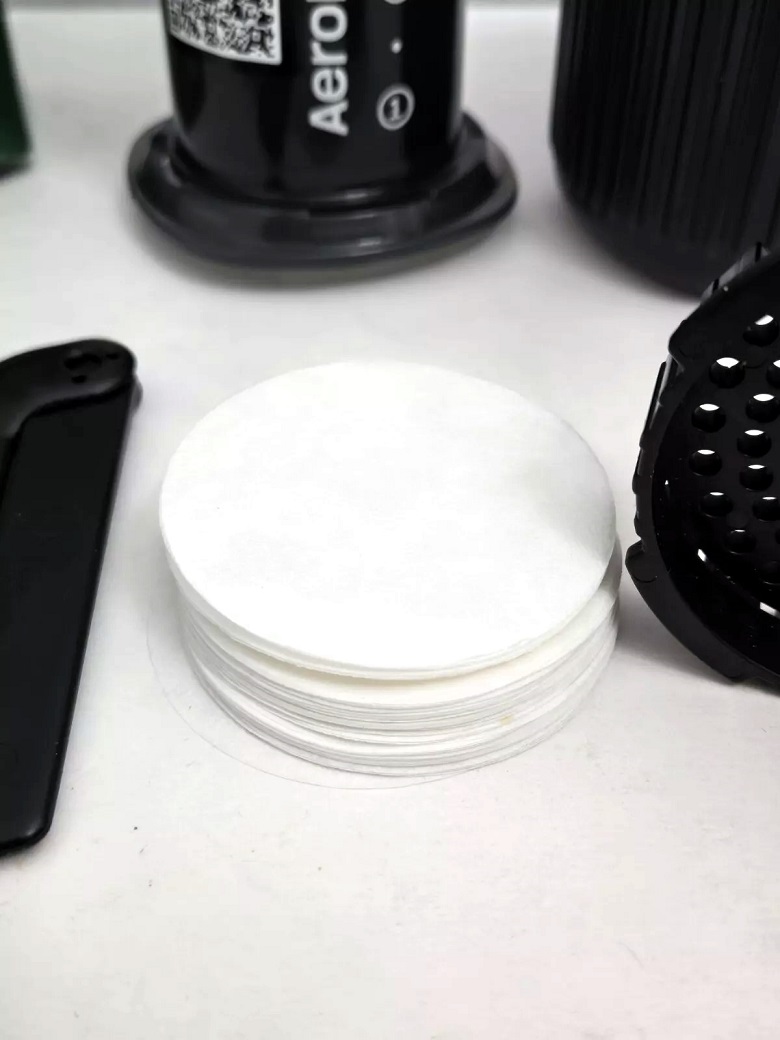
Aeropress Filter Paper: These are thin paper filters specifically designed for the Aeropress. You can use standard filter paper, or you can opt for a reusable metal filter if you prefer.
Hot Water: You’ll need hot water to brew your coffee, and the temperature of the heated water is crucial for extracting the best flavors from your coffee beans.
Ground Coffee: Freshly ground coffee is essential for a great cup of coffee. Use high-quality specialty coffee beans and grind them just before brewing.
Coffee Grinder: A burr grinder is the best option to ensure an even grind size. For the inverted Aeropress method, a medium-fine grind (similar to table salt) works best.
Coffee Scale: While not mandatory, a coffee scale can help you measure the right amount of coffee and water for the perfect brew.
Aeropress Cap: The filter cap is an essential part of the Aeropress that holds the filter paper in place.
Step-by-Step Guide to Brewing with the Inverted Aeropress Method
Now that you have everything you need, let’s walk through the brewing process. Follow these simple steps to make a great cup of coffee using the inverted Aeropress method.
1. Prepare Your Equipment
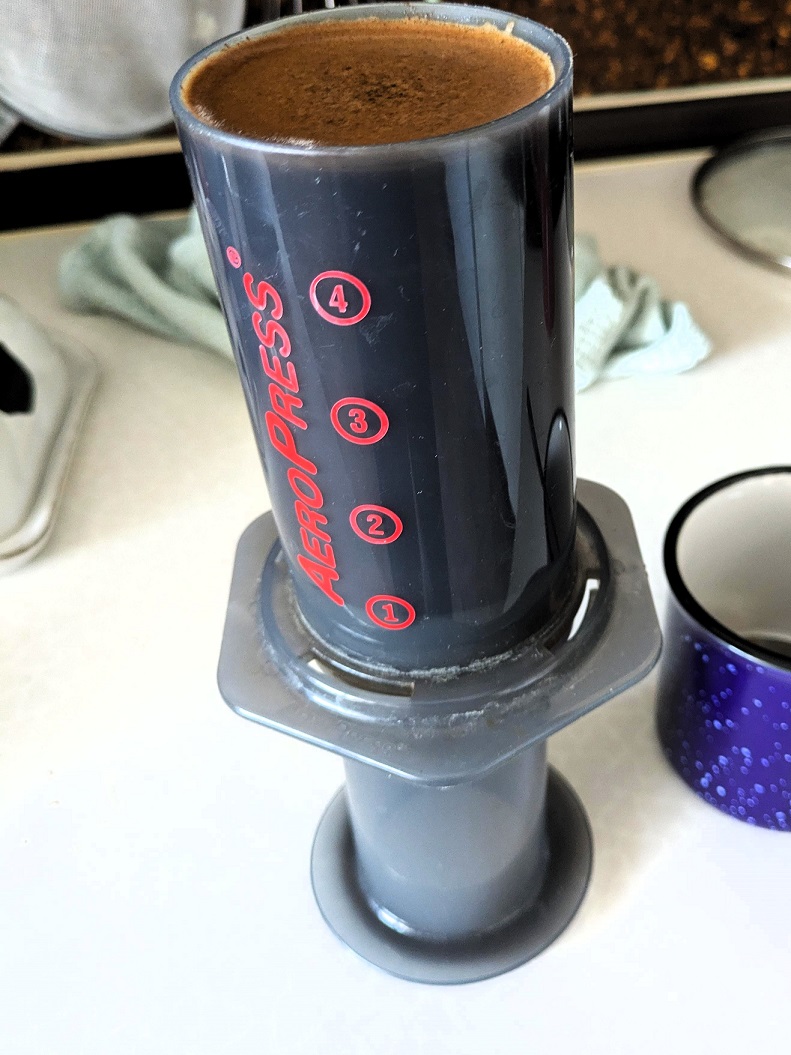
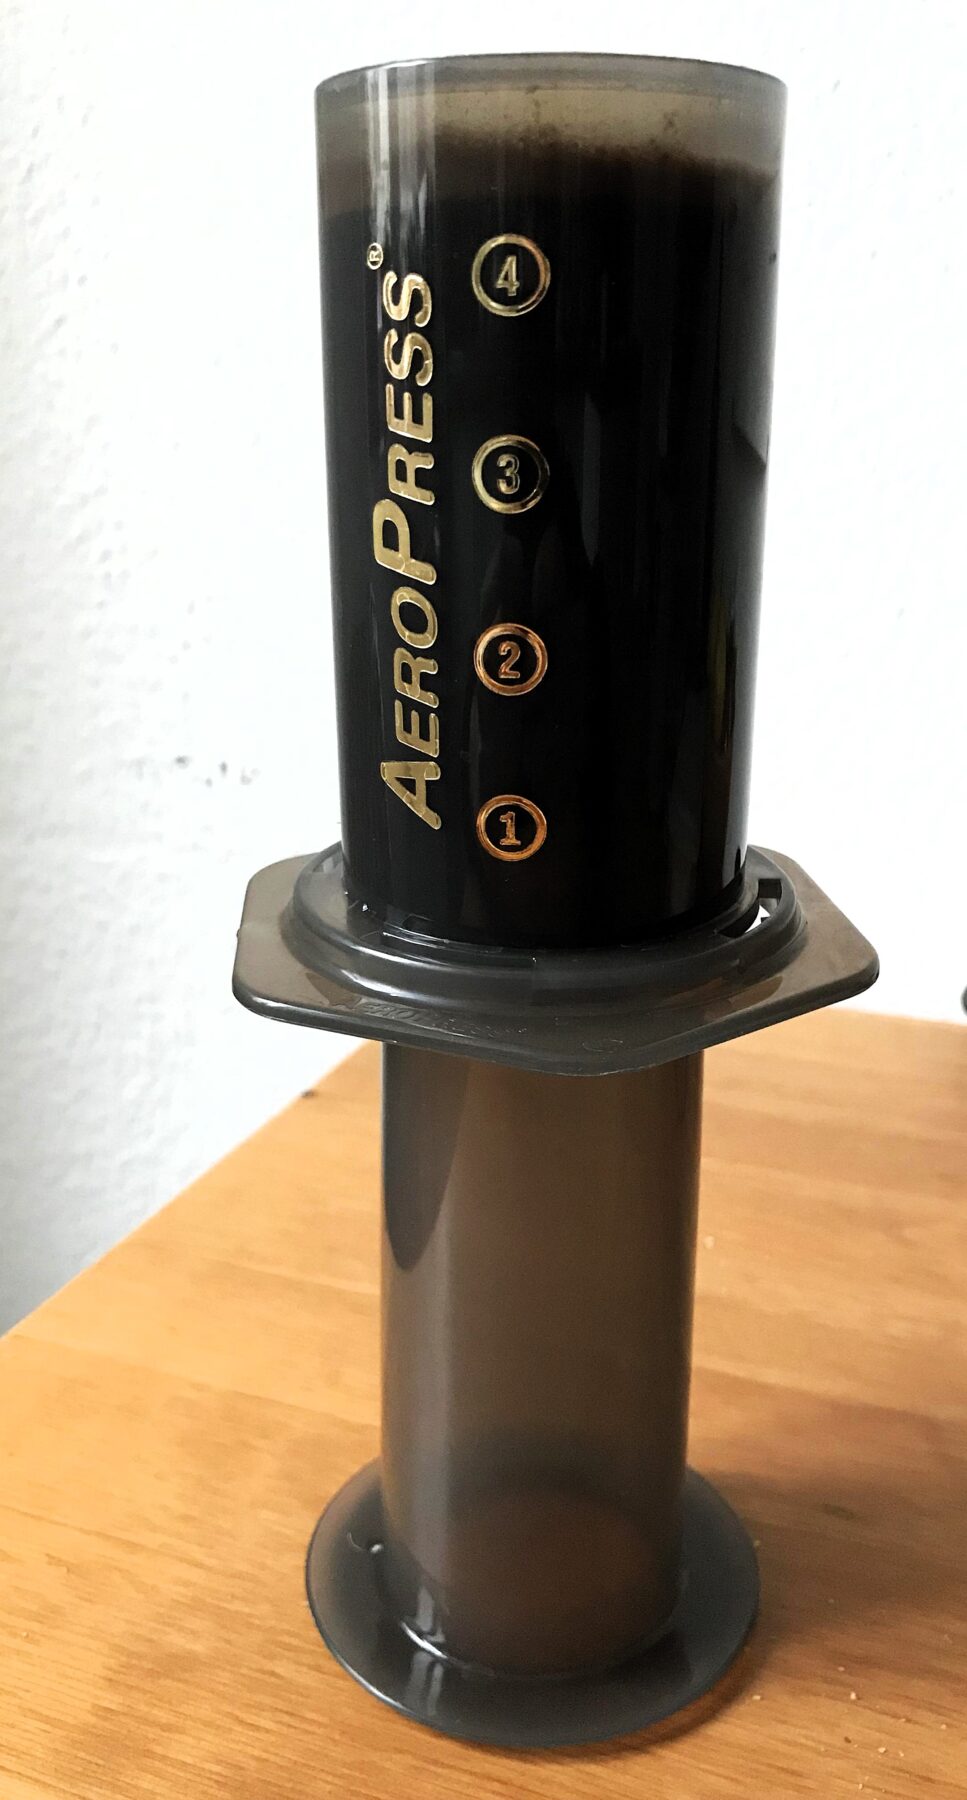
Start by placing the Aeropress coffee maker upside down (the brewing chamber should be at the top, and the plunger should be at the bottom). This is the inverted method—the opposite of the standard method, where the Aeropress is set up right side up.
2. Add Coffee Grounds
For a typical brew, start with 14-18 grams of coffee grounds, depending on your desired strength. You can adjust this amount based on your preferences or the specific Aeropress recipe you’re following. A medium-fine grind is recommended for the inverted method—similar to table salt. This grind will help create the best extraction without over-extracting the coffee.
Pour the ground coffee into the brew chamber. Swirl the Aeropress to settle the coffee grounds evenly inside.
3. Add Hot Water
Heat your water to around 200°F (93°C). It’s important not to go too hot, as water temperatures that are too high can extract bitter flavors from the coffee. With your water heated, pour about 220 ml (7.5 oz) of water over the coffee grounds.
Make sure the coffee grounds are fully saturated. Give the Aeropress a gentle swirl to ensure that all the coffee is immersed in the water. The first pour is essential for good extraction, so make sure you pour enough water to cover the coffee grounds evenly.
4. Stir the Coffee
Once the coffee grounds are saturated, stir the mixture gently to make sure the water has fully mixed with the coffee grinds. Stirring ensures an even extraction.
5. Steep the Coffee
Now let the coffee steep for about 1 minute. During this time, the coffee grounds will release their flavors, and the brewing process will begin. You can extend the steeping time to 1.5 minutes or even 2 minutes, depending on how strong you want your coffee. This immersion method is one of the reasons the inverted Aeropress gives such a rich, full-bodied cup of coffee.
6. Place the Filter and Cap
While your coffee is steeping, take your Aeropress filter paper and rinse it with hot water. This step helps to remove any potential paper flavor and ensures the filter stays in place when you press. Once the filter is rinsed, attach the Aeropress cap to the top of the inverted Aeropress.
7. Flip the Aeropress
Now, here’s the key part of the inverted method: After the steeping time, carefully flip the Aeropress onto your mug or carafe. You want to do this gently so the hot coffee doesn’t spill or splash. The pressure and slow extraction during the flip will help create a more flavorful brew. Be careful not to cause any hissing sound as you flip.
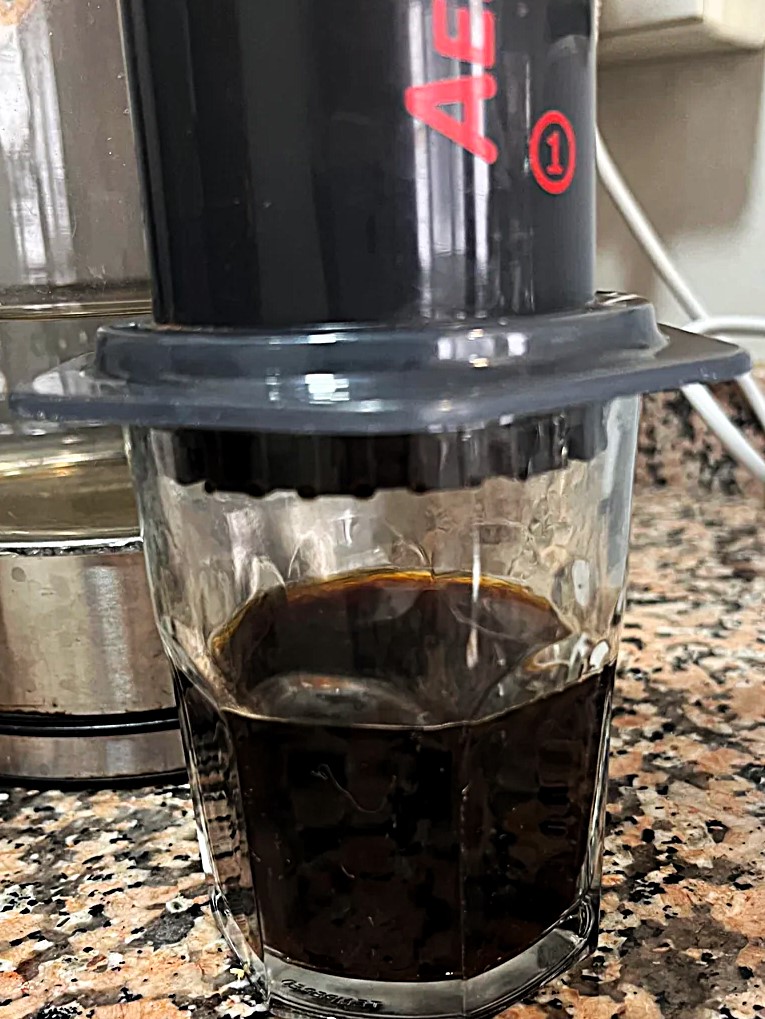
8. Press the Coffee
Now it’s time to press! Apply steady pressure on the Aeropress plunger. As you press, the coffee will pass through the filter paper, and into your mug. It may take about 30 seconds to 1 minute to press all the way down. The final press should be firm but not rushed—take your time. If you hear a hissing sound, you’ve probably reached the end of the press.
9. Enjoy Your Coffee
Once you’ve pressed all the way down, remove the Aeropress cap and discard the coffee grounds and filter paper. You’re now left with a beautiful cup of coffee!
10. Experiment with Ratios and Timing
One of the best parts about the inverted Aeropress method is that you can play around with different ratios of coffee to water, grind sizes, and steeping times. For instance, some coffee geeks may want to try a finer grind for a stronger cup, while others may opt for a coarser grind for a smoother, lighter brew. Similarly, you can experiment with the amount of time you steep the coffee to find the right way to brew coffee to suit your personal preferences.
Tips for Brewing a Perfect Cup of Coffee with the Inverted Aeropress
Use Fresh Coffee Beans: Always use freshly ground coffee beans for the best flavor. Avoid pre-ground coffee, as it tends to lose its freshness and flavor quickly.
Rinse the Filter: Rinsing the filter paper helps remove any unwanted flavors and also prevents the filter from affecting the flavor of your coffee.
Adjust the Grind Size: If you prefer a stronger cup of coffee, you can adjust your grind size. A finer grind will give you a stronger extraction, while a coarser grind will create a lighter brew.
Experiment with Water Temperature: The temperature of the water can greatly affect the taste of your coffee. Aim for a water temperature of around 200°F for the best results.
Use Enough Water: Make sure to add enough water to cover the coffee grounds completely. Too little water can result in under-extraction, while too much water can result in a weak brew.

The inverted Aeropress method is a fantastic way to brew a rich, flavorful cup of coffee. By following these simple steps and experimenting with different grind sizes, ratios, and steeping times, you can make a cup of coffee that suits your taste perfectly. Whether you’re a coffee enthusiast or someone just getting started, the Aeropress is a great tool to explore different brewing methods and perfect your coffee-making skills.
Remember, the key to a great cup of coffee lies in finding the right combination of coffee beans, grind size, water temperature, and brewing time. With the inverted Aeropress method, you’re well on your way to becoming a coffee pro in no time!
Enjoy brewing your delicious coffee with the Aeropress upside and get ready to impress your friends and family with your new coffee-making skills!