Last Updated on January 13, 2025 by Karen
In this guide, we’ll walk you through essential care and maintenance tips for your Keurig K Mini coffee maker, ensuring it stays in top condition for optimal performance. From regular cleaning to descaling, we cover everything you need to maintain your machine and enjoy a perfect cup of coffee every time.
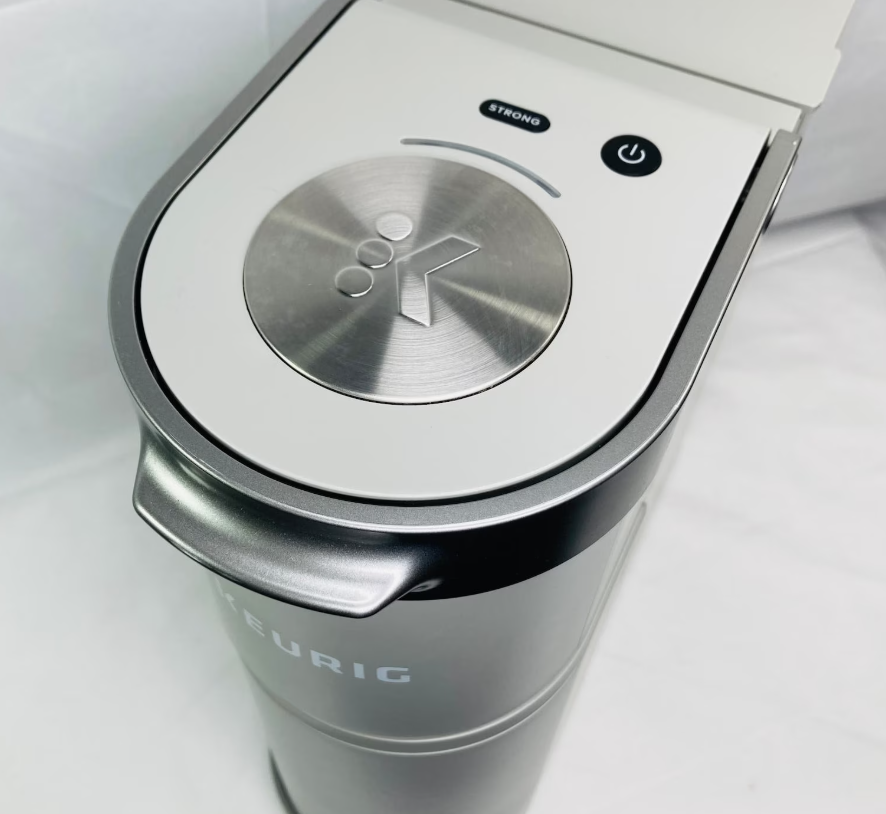
The Keurig K Mini Coffee Maker is an efficient and compact machine, perfect for brewing your favorite cup of coffee in a flash. However, just like any other appliance, it requires regular care and maintenance to ensure it performs optimally. Read my full review of the Keurig K Mini Plus coffee maker.
Proper care can extend the lifespan of your Keurig K Mini, improve the taste of your coffee, and keep your machine running smoothly. In this guide, we’ll walk you through essential maintenance steps to keep your Keurig K Mini in great working condition.
Other Keurig related posts you may like:
What Does the Strong Button Do on a Keurig? (Tested Guide)
Keurig Coffee Maker Settings (Use and Care Guide)
Can a Keurig Make Tea? (Using K-Cups and Loose Leaf Tea)
Regular Cleaning of Keurig K Mini Coffee Maker
To maintain the taste of your coffee and keep your machine free from bacteria, it’s important to clean your Keurig K Mini regularly. Here’s a simple cleaning routine to follow:
Daily Cleaning:
- K-Cup Holder: After each brew, remove the K-Cup pod and rinse the K-Cup holder under warm water to remove any coffee grounds and oils.
- Drip Tray: Empty the drip tray and wash it with warm soapy water to prevent any build-up of residue.
- Water Reservoir: If your Keurig K Mini has a removable water reservoir, empty and rinse it with warm water daily to avoid any mold or mildew growth.
Weekly Cleaning:
- Needle Maintenance: The puncture needles (top and bottom) that puncture the K-Cup pods can get clogged with coffee grounds or residue. Use a paperclip or needle-cleaning tool to gently clear the holes in the K-Cup holder.
- Descaling: While Keurig K Mini doesn’t have a full-fledged descaling mode, it’s important to descale the machine every 3-6 months to remove mineral buildup. Use the Keurig branded descaling solution or simply a mixture of white vinegar and water (50/50 ratio) and run several cycles, allowing the solution to sit in the water reservoir for about 30 minutes. Afterward, run several water-only cycles to rinse the machine.
Descaling the Keurig K Mini
Mineral deposits from hard water can build up in the internal components of the coffee maker over time, affecting the performance and taste of your coffee. To prevent this, it’s important to descale your Keurig K Mini at regular intervals. Here’s how you can do it:
- Step 1: Fill the water reservoir halfway with white vinegar and the other half with water.
- Step 2: Place a mug under the brewer, turn the machine on, and start a brewing cycle. Let the vinegar and water mixture run through the machine. When the mug is full, dispose of the liquid and repeat the process until the water reservoir is empty.
- Step 3: Fill the water reservoir with clean water and run a few water-only cycles to flush out any remaining vinegar solution.
- Step 4: Once you’ve run a few water-only cycles, your Keurig K Mini should be free from mineral buildup and ready to brew fresh coffee again.
Maintaining the Water Reservoir
The water reservoir plays a crucial role in your Keurig’s performance, so keeping it clean is essential. Here are some steps to maintain the water reservoir:
- Empty the Reservoir Regularly: Always empty any remaining water in the reservoir after each use. Leaving water in the reservoir can lead to bacteria and mold growth, especially if the machine isn’t used daily.
- Rinse the Reservoir: If your Keurig K Mini has a removable water reservoir, rinse it with warm water once a week to ensure it stays clean. Avoid using harsh chemicals or soap, as they could affect the taste of your coffee.
- Deep Cleaning: Once a month, perform a deep clean of the reservoir by soaking it in warm soapy water and gently scrubbing any areas with a sponge.
Avoid Using Tap Water
If possible, avoid using tap water in your Keurig K Mini, especially if you live in an area with hard water. Hard water contains minerals that can build up inside the machine and affect its performance. Instead, use filtered water or bottled water to help prolong the life of your Keurig and improve the taste of your coffee.
Replace Parts When Necessary
Some parts of your Keurig K Mini, such as the K-Cup holder, water reservoir, or the needles, may wear out over time. If you notice any cracks, broken pieces, or significant wear and tear, it’s a good idea to replace those parts to ensure the machine continues to function properly.
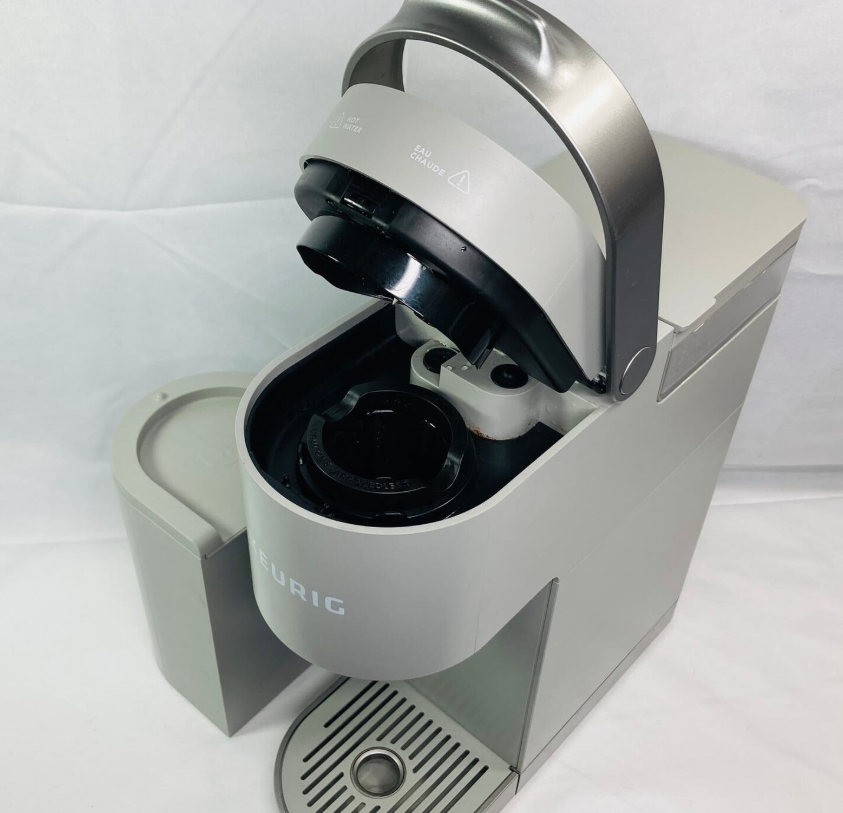
How to take apart a Keurig Mini?
To take apart a Keurig Mini, you should follow these steps carefully. Be sure to unplug the machine and allow it to cool down before you begin disassembling.
1. Unplug the Keurig Mini
Make sure the machine is unplugged to avoid any risk of electric shock or injury.
2. Remove the Water Reservoir
Take off the removable water reservoir, if applicable. The Keurig Mini has a water tank that can be easily removed for cleaning or maintenance.
3. Remove the Drip Tray
Lift the drip tray from the bottom of the machine. This piece is often removable and can be cleaned separately.
4. Remove the K-Cup Holder and Pod Assembly
To access the K-cup holder and pod assembly, you need to pull out the K-cup pod holder. Open the machine’s lid, and gently pull the pod holder out from its compartment. Be cautious, as there may be a needle inside that punctures the K-cup pods.
5. Remove the Needle
If necessary, you can carefully remove the needles (both top and bottom) that puncture the K-cups. Keep in mind that they are sharp, so proceed with caution. You may need a small screwdriver or a tool to remove any screws that hold the needle in place.
6. Unscrew the Machine (Optional)
If you need to take apart the internal components or get into more complex areas, you can unscrew the back and sides of the machine. Use a screwdriver (usually a Phillips head) to remove any screws. There are likely screws around the back or underneath the Keurig Mini. Be sure to keep track of the screws and avoid damaging the internal parts.
7. Separate the Parts
Once all screws are removed, you can gently separate the plastic housing. You may need to carefully pull apart different pieces to access the internal components, such as the water pump, heating element, or the brewing mechanism.
8. Clean and Reassemble
After you’ve completed the disassembly, clean any parts that require attention. Be sure to dry everything thoroughly before reassembling. Once cleaned, reverse the steps to put the Keurig Mini back together.
Always refer to the Keurig Mini’s manual for specific guidance on your machine model. Some steps may vary slightly depending on your version of the Mini.
How to unclog a Keurig Mini?
To unclog a Keurig Mini, follow these steps to fix common issues such as a slow brewing process, weak coffee, or no coffee coming out at all. It is essential to address clogs to ensure your machine continues to work efficiently.
1. Turn Off and Unplug the Machine
Before performing any maintenance, make sure the Keurig Mini is turned off and unplugged to avoid any electrical hazards.
2. Remove the Water Reservoir and Drip Tray
Take out the water reservoir and drip tray. Clean these parts thoroughly with warm soapy water to ensure there are no blockages in these areas.
3. Check the K-Cup Holder
Remove the K-Cup pod holder. Open the top lid and carefully pull out the K-Cup holder from the machine. Clean it under warm running water to remove any coffee grounds or debris that may have accumulated. Be sure to clean both the top and bottom needles (the ones that puncture the K-cup) using a paperclip or small brush.
4. Clear the Needles
The most common cause of clogs in Keurig machines is coffee grounds stuck in the needles. Use a paperclip to carefully dislodge any grounds in the needle holes. Gently insert the paperclip into the needle to clear the passage.
5. Clean the Exit Needle
Check the exit needle at the bottom of the K-Cup holder for any coffee grounds or debris. Clean the needle by running warm water through it or using a small brush to remove any buildup.
6. Descale the Machine
If the clog persists or seems to be caused by mineral buildup, it’s time to descale your Keurig Mini. Descaling removes calcium deposits that accumulate over time, which can clog the water flow. Use a descaling solution (like Keurig’s descaling solution or white vinegar) and run the machine as follows:
- Fill the water reservoir with the descaling solution or vinegar mixed with water (usually 1 part vinegar to 1 part water).
- Place a mug under the machine and run a brew cycle without a K-Cup.
- Repeat the process until the water reservoir is empty, then rinse the machine thoroughly with fresh water to remove any vinegar or descaling solution.
7. Check for Blockages in the Water Line
If the machine is still clogged, there could be a blockage in the internal water line. To clear it, run several water-only cycles without a K-Cup inserted. This helps force water through the machine, potentially dislodging any internal blockages.
8. Reassemble and Test
Once you’ve cleaned all the parts, reassemble your Keurig Mini. Fill the water reservoir, plug in the machine, and run a test brew with just water to ensure the clog is cleared.
By following these steps, you should be able to unclog your Keurig Mini and restore it to its optimal functioning. Regular cleaning and descaling can help prevent future clogs.
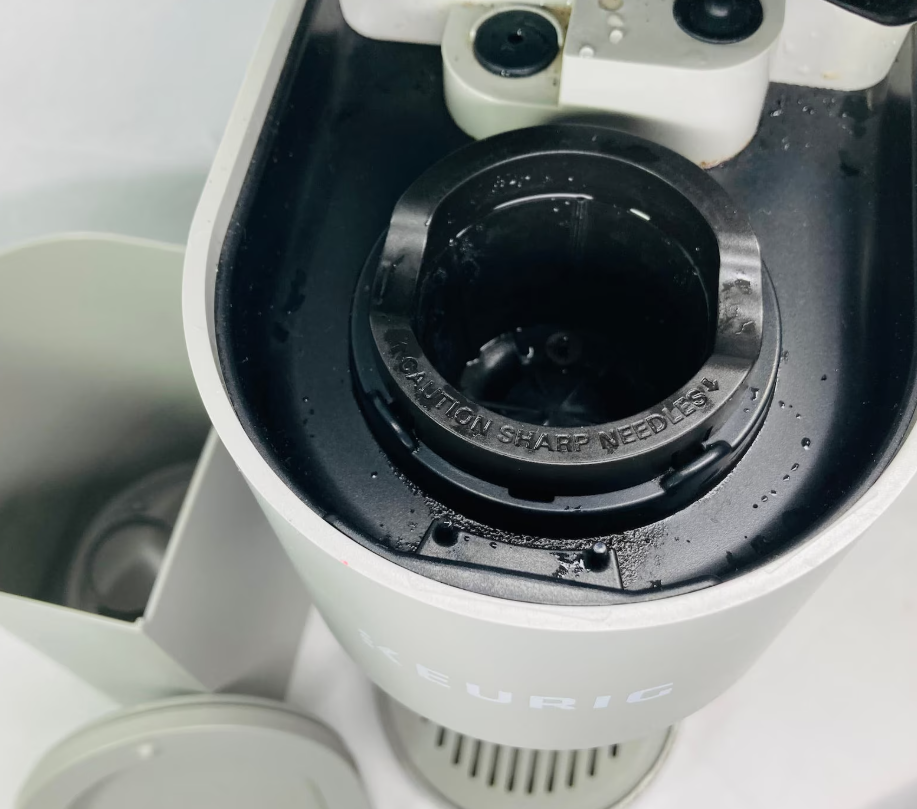
What are some common problems with the Keurig K Mini? (troubleshooting tips)
The Keurig Mini is a popular single-serve coffee maker, but like any appliance, it can sometimes experience issues. Here are some common problems with the Keurig Mini and how to fix them:
1. Keurig Mini Not Brewing
Possible Causes:
- Clogged Needles: Coffee grounds or debris can clog the needles, preventing the machine from brewing.
- Water Reservoir Empty or Not Seated Correctly: Ensure the water reservoir is filled to the proper level and seated correctly in the machine.
- Air Bubbles in the Water Line: If air gets trapped in the water line, the machine may not brew properly.
- Power Supply Issue: Ensure the power cord is plugged in properly and the machine is switched on.
Fixes:
- Clean the K-Cup holder and needles with a paperclip or small brush.
- Check the water reservoir to make sure it’s full and seated properly.
- Run a few cycles with just water to clear any air bubbles from the water line.
- Check the power source and reset the machine if necessary.
2. Water Leaking from the Bottom
Possible Causes:
- Damaged Water Reservoir: A crack or damage in the water reservoir can cause leaks.
- Loose or Misaligned Parts: If the K-Cup holder or drip tray isn’t aligned properly, water may leak out.
Fixes:
- Inspect the water reservoir for cracks or damage. If damaged, replace it.
- Make sure all parts, including the K-Cup holder and drip tray, are properly aligned.
3. Coffee Tastes Weak
Possible Causes:
- Under-Brewing: The Keurig Mini may not be brewing long enough, producing weak coffee.
- Incorrect Brew Size: Choosing a larger brew size with the same amount of coffee can result in weaker coffee.
- Dirty Water Reservoir or K-Cup Holder: Coffee oils and grounds can build up in the machine and affect flavor.
Fixes:
- Try using the “strong brew” button if available.
- Brew a smaller cup size for a more concentrated brew.
- Clean the K-Cup holder and water reservoir thoroughly.
4. Keurig Mini Won’t Turn On
Possible Causes:
- Power Outlet Issue: The machine may not be plugged in correctly or the outlet may not be working.
- Faulty Power Button: The power button may be malfunctioning.
- Internal Circuit Issue: There could be a problem with the machine’s internal electronics.
Fixes:
- Ensure the machine is properly plugged into a working power outlet.
- Try resetting the machine by unplugging it for a few minutes, then plugging it back in.
- If the power button is unresponsive, check for visible damage or consult customer support.
5. Water Not Heating Up
Possible Causes:
- Heating Element Failure: The heating element inside the machine may be faulty.
- Clogged Water Line: Mineral buildup or debris could be preventing the water from heating properly.
Fixes:
- Run a descaling cycle to clear out mineral buildup.
- If the heating element is malfunctioning, it may need professional repair or replacement.
6. Keurig Mini is Making a Loud Noise
Possible Causes:
- Air Bubbles in the Water Line: Air trapped in the water line can cause loud noises during brewing.
- Scale Build-Up: Mineral deposits inside the machine can cause noises as the water heats up.
Fixes:
- Run several water-only cycles to clear air bubbles.
- Perform a descaling process to remove mineral buildup and restore the machine to quiet operation.
7. Keurig Mini Keeps Shutting Off
Possible Causes:
- Auto-Off Feature: The Keurig Mini has an auto-off feature that may be engaging too soon.
- Overheating: The machine may be overheating and shutting off to prevent damage.
Fixes:
- Adjust the auto-off settings if applicable.
- Allow the machine to cool down before using it again, or check the instruction manual for troubleshooting overheating issues.
8. Keurig Mini Brewing Too Slowly
Possible Causes:
- Clogged Needles or Water Line: A buildup of coffee grounds or scale can slow down the brewing process.
- Low Water Pressure: If the water reservoir isn’t seated correctly or the water pump is malfunctioning, it can affect brewing speed.
Fixes:
- Clean the needles and water line by running water-only cycles and performing a descaling process.
- Ensure the water reservoir is properly filled and seated in place.
9. Keurig Mini Not Dispensing Coffee
Possible Causes:
- K-Cup Holder Blockage: A blocked K-Cup holder or needle could prevent coffee from dispensing.
- Airlock in the Machine: Air may become trapped in the water line, preventing coffee from being dispensed.
Fixes:
- Clean the K-Cup holder and needle to remove any blockages.
- Run a few water-only cycles to clear air from the water line.
By addressing these common issues, you can keep your Keurig Mini brewing efficiently and ensuring you enjoy your coffee just the way you like it!
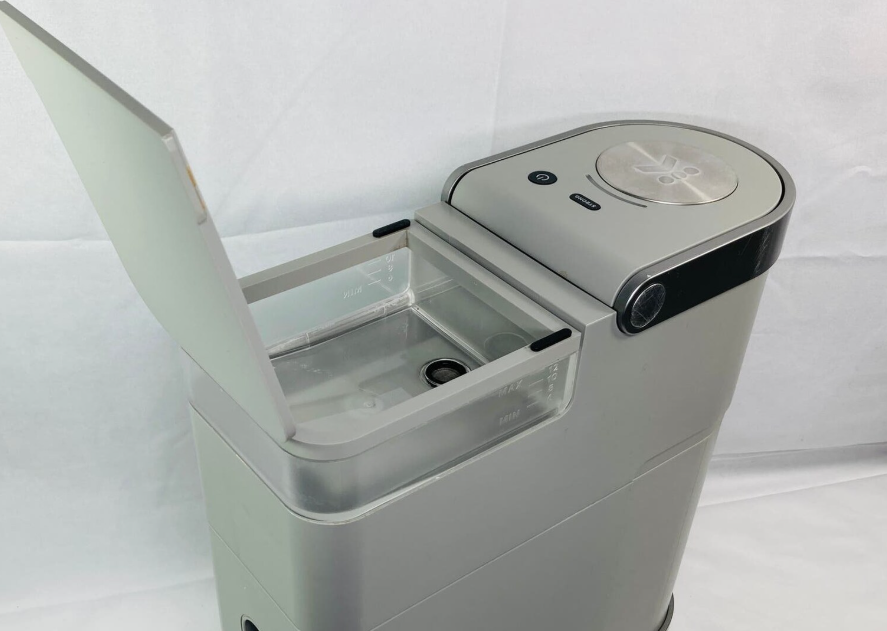
Proper care and maintenance are key to ensuring your Keurig K Mini continues to brew the perfect cup of coffee every time. Regular cleaning, descaling, and proper storage will not only improve the quality of your coffee but also extend the life of your machine. By following this guide, you can enjoy a reliable, high-performing Keurig K Mini for years to come. Happy brewing!


